
Finishing Touches: How to Perfect Your Drywall Texture for a Polished Look
Master the Art of Drywall Texturing for a Flawless Interior Finish
Drywall texturing and finishing are crucial steps in achieving a polished look for your walls. Whether you’re working on a new construction project or remodeling an existing space, understanding the nuances of drywall installation and finishing can elevate your interior aesthetics. This guide will walk you through the essentials of drywall texturing, the tools needed, and the techniques to perfect your drywall texture.
Understanding Drywall Texturing and Finishing
Drywall texturing involves applying a specific pattern or finish to drywall surfaces, giving them character and style. The process begins with drywall installation, where large sheets of drywall (also known as sheetrock) are hung, taped, and sanded before any texturing can take place. Once the surface is prepared, various techniques can be employed to create the desired texture.
Finishing refers to the process of smoothing the drywall's surface, covering seams and imperfections, and preparing it for paint or other finishes. Proper drywall finishing not only enhances the overall look but also protects the wall from damage.
Types of Drywall Textures
Before you dive into the process of texturing drywall, it’s essential to familiarize yourself with the different drywall textures for walls. Some of the most popular types include:
- Knockdown Texture: This is created by spraying joint compound onto the wall and then lightly scraping it off. This technique results in a subtle, mottled effect.
- Popcorn Texture: Often found in ceilings, this texture is achieved by spraying a thick layer of joint compound that creates a bumpy, popcorn-like appearance.
- Orange Peel Texture: This resembles the skin of an orange, with a light texture that provides a soft, less pronounced look.
- Smooth Finish: As the name suggests, this technique results in a flat and smooth surface, which is ideal for modern and minimalist designs.
- Sand Swirl Texture: This technique creates a swirling pattern using a brush or roller, adding a dynamic feel to the walls.
Choosing the right texture will depend on your style preferences, the existing décor, and the overall ambiance you want to create in your space.
Tools and Materials for Texturing Drywall
Before starting your drywall texturing project, gather the necessary drywall materials and tools. Here's a comprehensive list:
- Joint Compound: This is the primary material used for texturing. It comes in pre-mixed and powdered forms.
- Drywall Primer: Priming the surface before applying the texture helps improve adhesion and overall appearance.
- Sprayer or Roller: Depending on the texture you choose, a sprayer or roller will be needed to apply the joint compound.
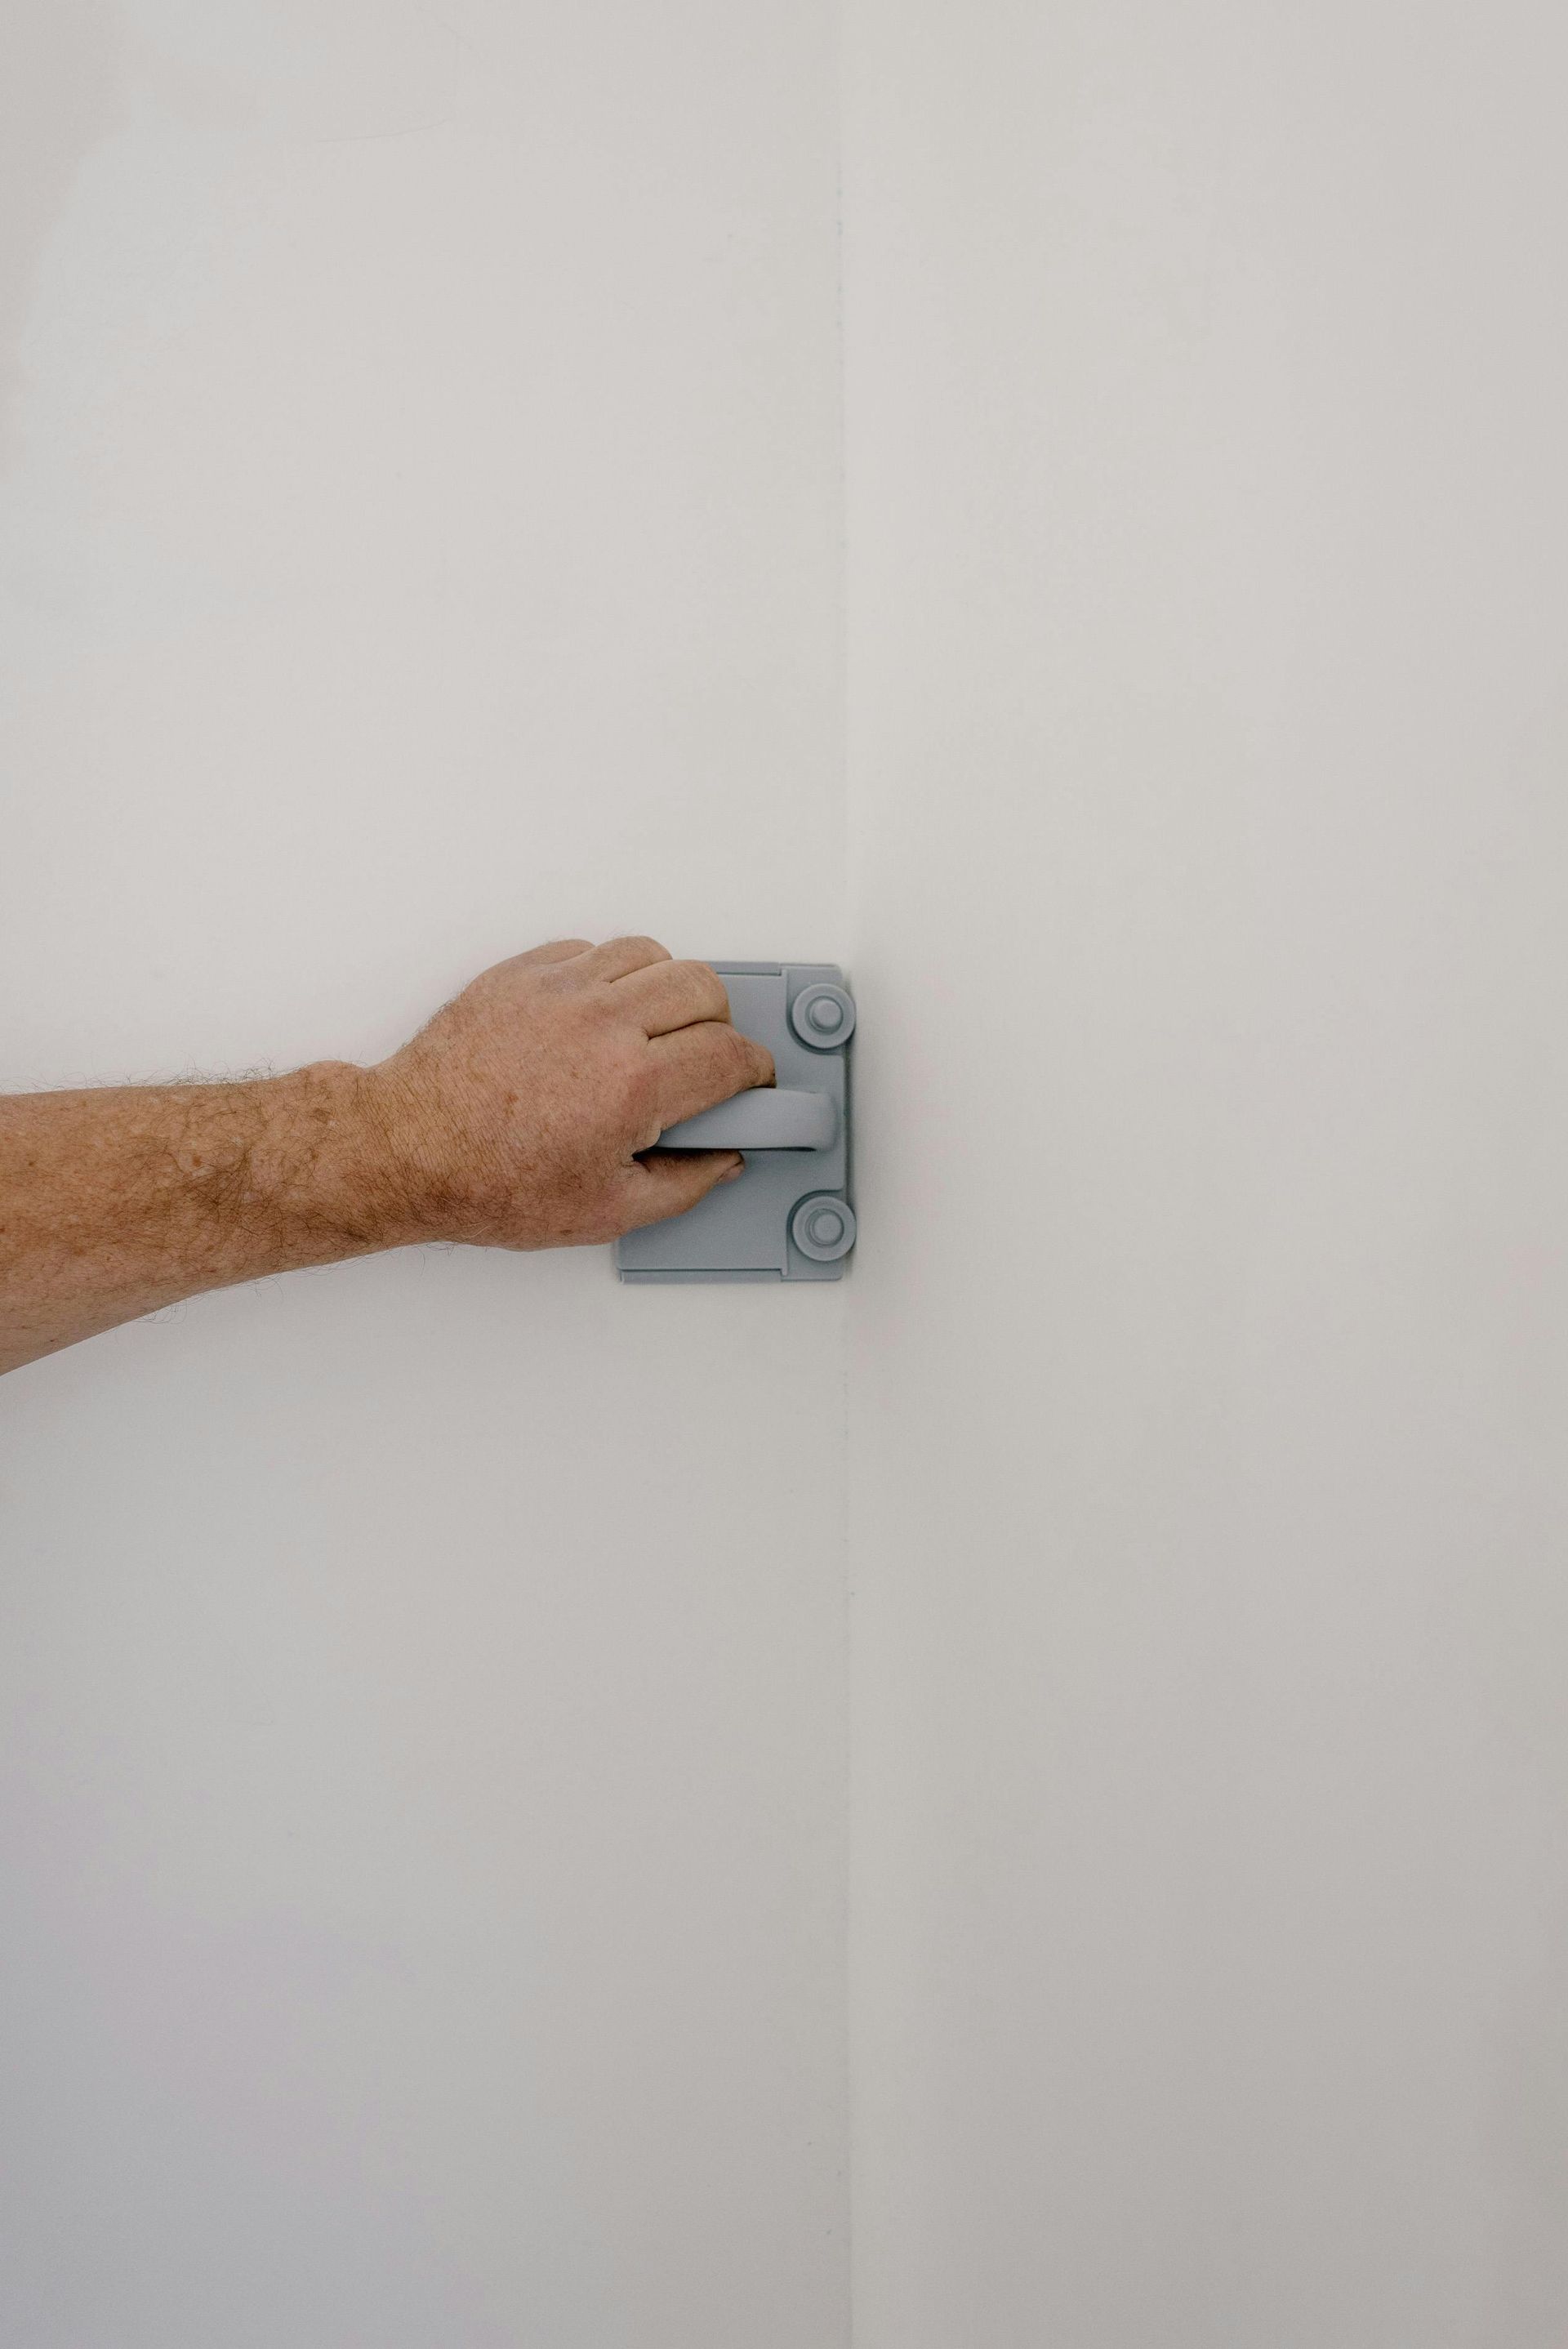
- Trowels and Knives: Various sizes of trowels and drywall knives will be required for smoothing and shaping the texture.
- Sandpaper or Sanding Sponge: Used for smoothing out any rough spots after the compound has dried.
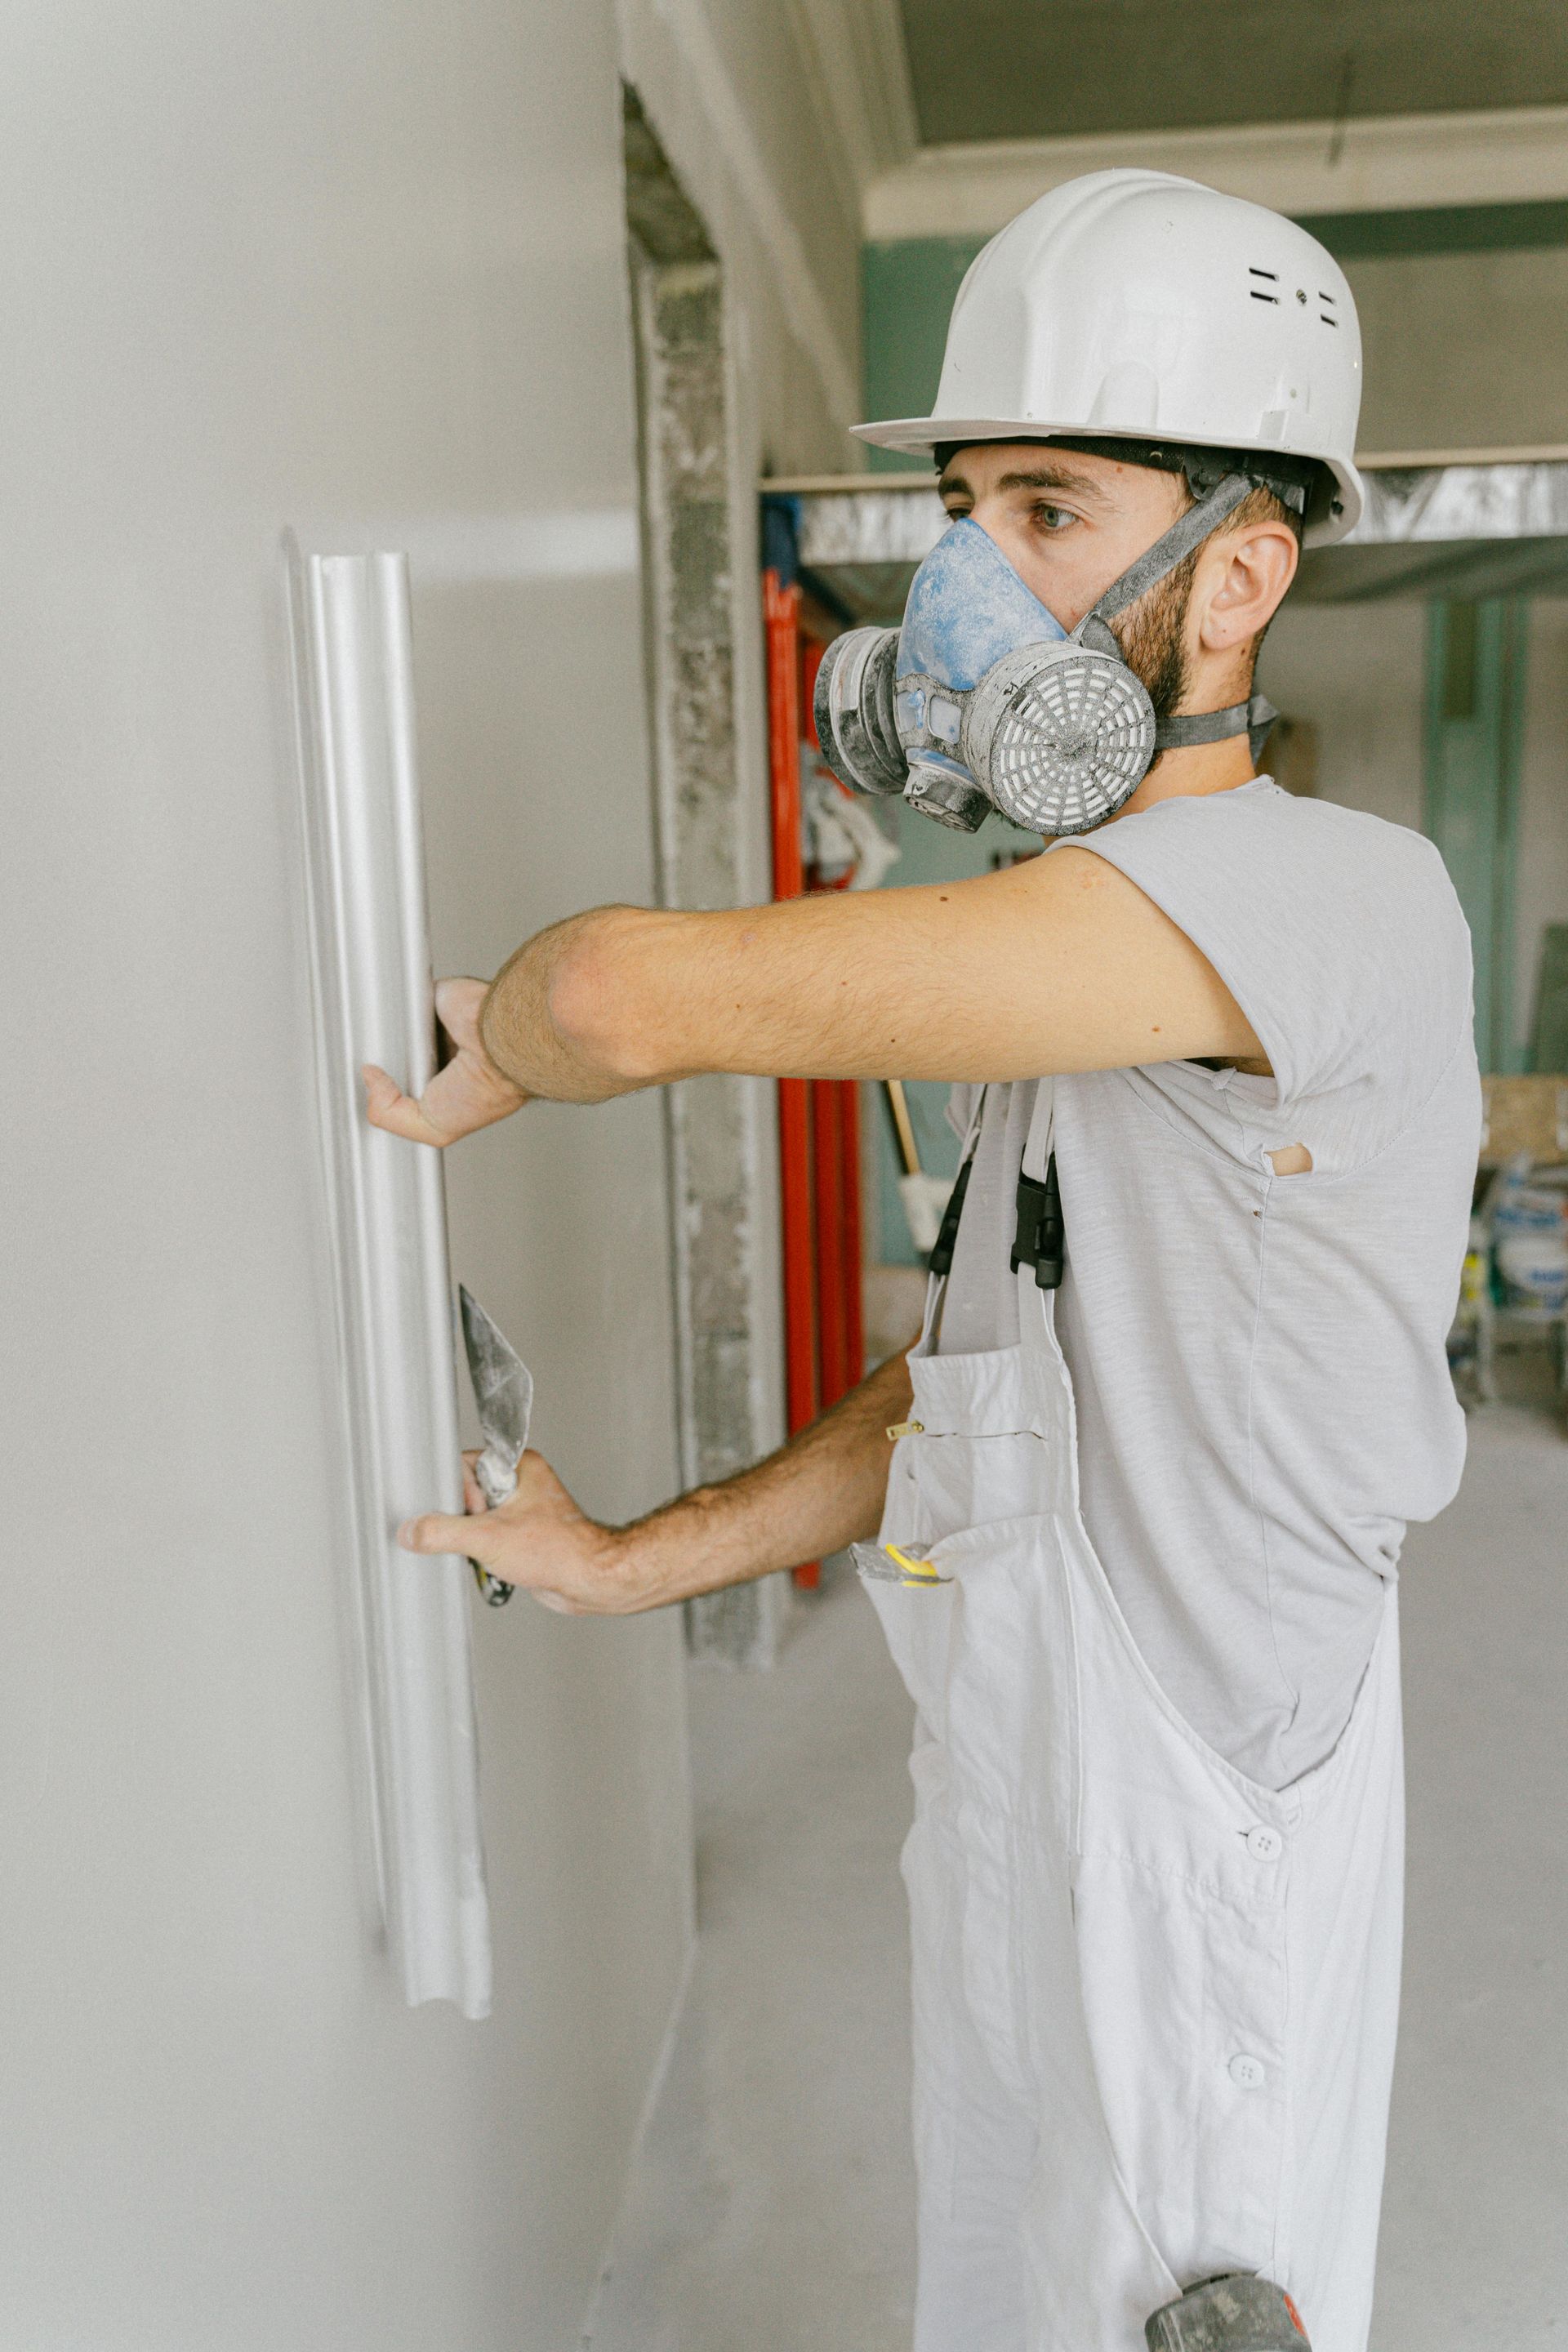
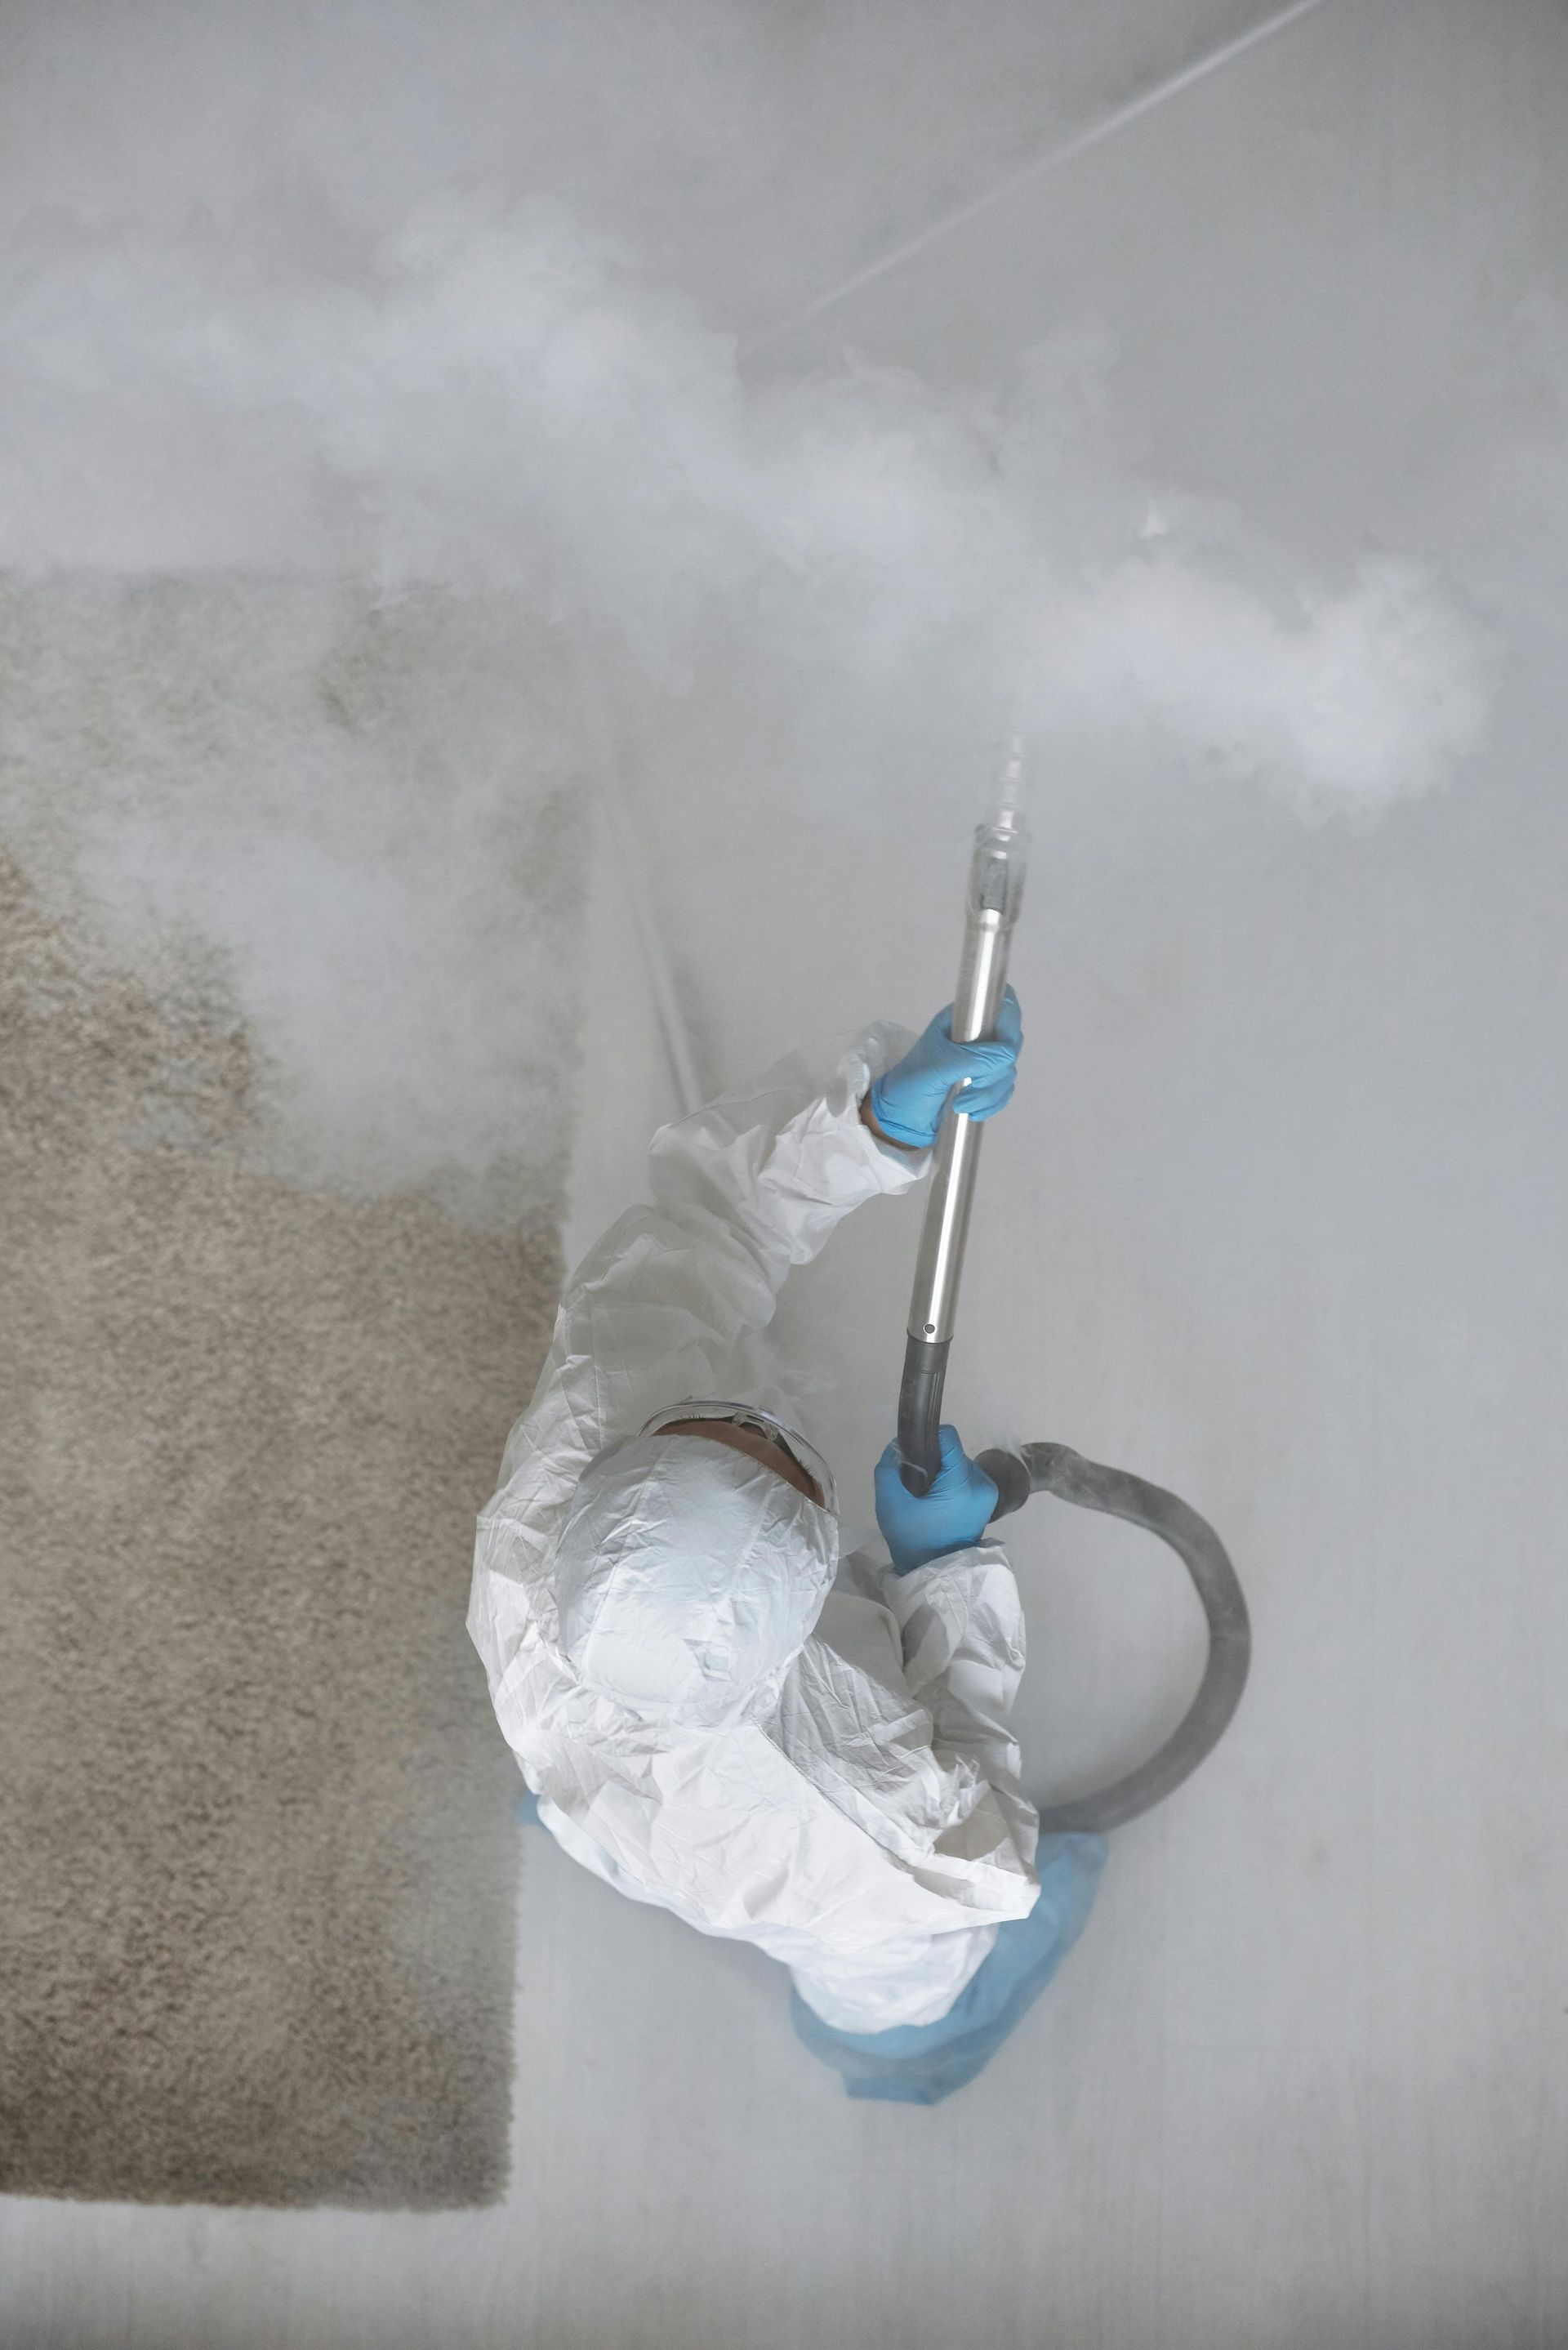
- Protective Gear: Always wear a mask, goggles, and gloves when working with drywall materials to protect yourself from dust and chemicals.
Steps to Perfect Your Drywall Texture
Now that you have an understanding of the tools and materials, let’s dive into the step-by-step process of texturing drywall.
Step 1: Prepare the Surface
- Ensure Clean and Dry Walls: Before starting any dry wall texturing, make sure your walls are clean, dry, and free from any debris. Inspect for any imperfections that need to be addressed.
- Apply Joint Compound: Using a drywall knife, apply a layer of joint compound to the seams and any visible screws. This step is crucial for achieving a smooth base.
- Sand the Joints: Once the joint compound has dried, sand the joints with fine-grit sandpaper to create a smooth finish.
Step 2: Choose Your Texture Technique
Depending on the type of texture you’ve chosen, the application process will vary. Here’s how to approach a couple of popular textures:
For Knockdown Texture:
- Mix your joint compound to a creamy consistency.
- Using a sprayer, apply the joint compound to the wall in a random pattern.
- After allowing it to set for a few minutes, use a knockdown knife or trowel to lightly flatten the raised areas.
For Popcorn Texture:
- Add a texturing additive to the joint compound to create a thicker consistency.
- Use a sprayer to apply the compound to the ceiling or wall, aiming for an even coverage.
- Allow it to dry thoroughly, which may take several hours.
Step 3: Finishing Touches
Prime the Textured Surface: After your texture has dried completely, apply a coat of drywall primer. This step ensures that the paint adheres properly and enhances the finish.
Paint the Textured Wall: Once the primer has dried, you can paint your textured wall. Consider using a roller for even coverage and to maintain the texture's integrity.
Final Inspection: Inspect your work for any missed spots or imperfections. Touch up as necessary to achieve a flawless finish.
Hiring Drywall Professionals
While DIY drywall texturing can be rewarding, hiring drywall professionals or a dry wall contractor may be the best option for those less confident in their skills. Here are a few reasons to consider professional help:
- Expertise: Drywall experts bring years of experience to the table. They are familiar with the latest techniques and trends in drywall finishing.
- Quality Assurance: Professionals ensure that the work is completed to a high standard, minimizing the risk of errors and the need for costly repairs.
- Time Efficiency: Hiring experts allows you to save time and focus on other aspects of your renovation or construction project.
When searching for drywall services, use terms like drywall installation near me or drywall finishing near me to find qualified professionals in your area.
Finding the Right Drywall Services
If you decide to hire professionals, consider the following tips to find the right drywall experts near me:
- Research and Reviews: Look for drywall professionals near me who have positive reviews and a strong portfolio of completed work. Online platforms and local directories can be helpful resources.
- Get Multiple Quotes: Contact several contractors to get quotes on your project. This practice will give you a better understanding of the market rates and help you identify the best value.
- Ask for References: Request references from previous clients. Speaking with past customers can provide insight into the contractor's reliability and quality of work.
- Check Credentials: Ensure that the contractors you’re considering are licensed and insured. This verification protects you from potential liability and ensures compliance with local regulations.
- Discuss Your Vision: Communicate your desired texture and finish to the contractor. A good professional will be open to your ideas and offer expert suggestions to enhance your project.
Conclusion
Drywall texturing and finishing play a pivotal role in enhancing the beauty and functionality of your walls. Whether you choose to tackle this project yourself or hire drywall professionals, understanding the ins and outs of the process will help you achieve the polished look you desire.
Remember to consider various drywall textures for walls and the techniques that suit your style. With the right preparation, tools, and methods, you can create stunning textured walls that will elevate any room in your home.
By following this guide, you'll be well on your way to mastering the art of drywall texturing, ensuring your walls reflect your personal style and preferences. Whether you opt for a knockdown texture or a smooth finish, the result will be a beautiful backdrop that enhances your living space for years to come.
You might also like
Book a Service Today

Mansfield, Texas, United States
Contact Us
817-765-6898
Proudly powered by Snapps website builder